Surround Mixing in REAPER
Use ReaSurroundPan to place sounds in our calibrated 7.1 room, automate a purposeful movement, and export a file whose channels play where you expect. This is a speaker-based mix. ReaSurroundPan does not create an Atmos ADM master or encode an Ambisonic sound field.
By the end, you should be able to trace a sound from its source track to a physical speaker, explain a placement choice, and verify a multichannel render.
1. Confirm the room and signal path
Start with the room configuration we calibrated on September 23. Keep its speaker levels and calibration settings intact.
- In Preferences > Audio > Device, select the room’s audio interface and enable the required output range.
- Set the Master track channels to 8 for today’s 7.1 mix. A 5.1 mix needs 6.
- In the Master’s routing window, map the eight project channels to the room’s hardware outputs. Use the room’s patching information; interface output 1 is not necessarily the left speaker.
- At a low monitoring level, send a channel-identification signal to each output in turn. Listen and confirm which physical speaker plays. Stop and correct any mismatch before mixing.
A meter confirms that a project channel carries a signal. It cannot tell you which physical speaker is connected to that output. Check both the meters and the speakers.
Our starting signal path is:
Source audio > ReaSurroundPan > track channels 1–8 > Master channels 1–8 > room outputs
Headphones need a separate surround-to-binaural monitoring path. Sending eight channels to a stereo headphone output does not let you hear the whole mix or verify the room’s speaker routing.
2. Read the channel labels
Use this channel order for today’s session. Confirm that the panner’s Speakers (outputs) list agrees with it; choosing a different preset can change the order.
| Channel | 5.1 | 7.1 |
|---|---|---|
| 1 | Left | Left |
| 2 | Right | Right |
| 3 | Center | Center |
| 4 | LFE | LFE |
| 5 | Left surround | Left side surround |
| 6 | Right surround | Right side surround |
| 7 | — | Left rear surround |
| 8 | — | Right rear surround |
Hardware patching and delivery formats may use other orders. Keep a note of the channel order with the exported mix.
In our room, channel 4 feeds the subwoofer directly. There is no crossover redirecting bass from the other channels: the subwoofer plays what you explicitly send to channel 4. Leave it unused in the first panning exercise so you can focus on placement through the main speakers.
3. Place one sound with ReaSurroundPan
- Import a short mono test sound onto a new track. Set that track to 8 channels and keep its ordinary track pan centered.
- Insert ReaSurroundPan. Set Input channels to 1 for this test and choose a 7.1 speaker layout whose output labels match the table.
- Check the plug-in pin connector: the source feeds input 1, and the eight panner outputs feed track channels 1–8.
- Check that the track’s Master/parent send passes all eight channels to the Master. Any intervening folder or bus must also carry eight channels.
- Move the source puck between front left, center, a side surround, and a rear surround. Listen and watch the corresponding output meters.
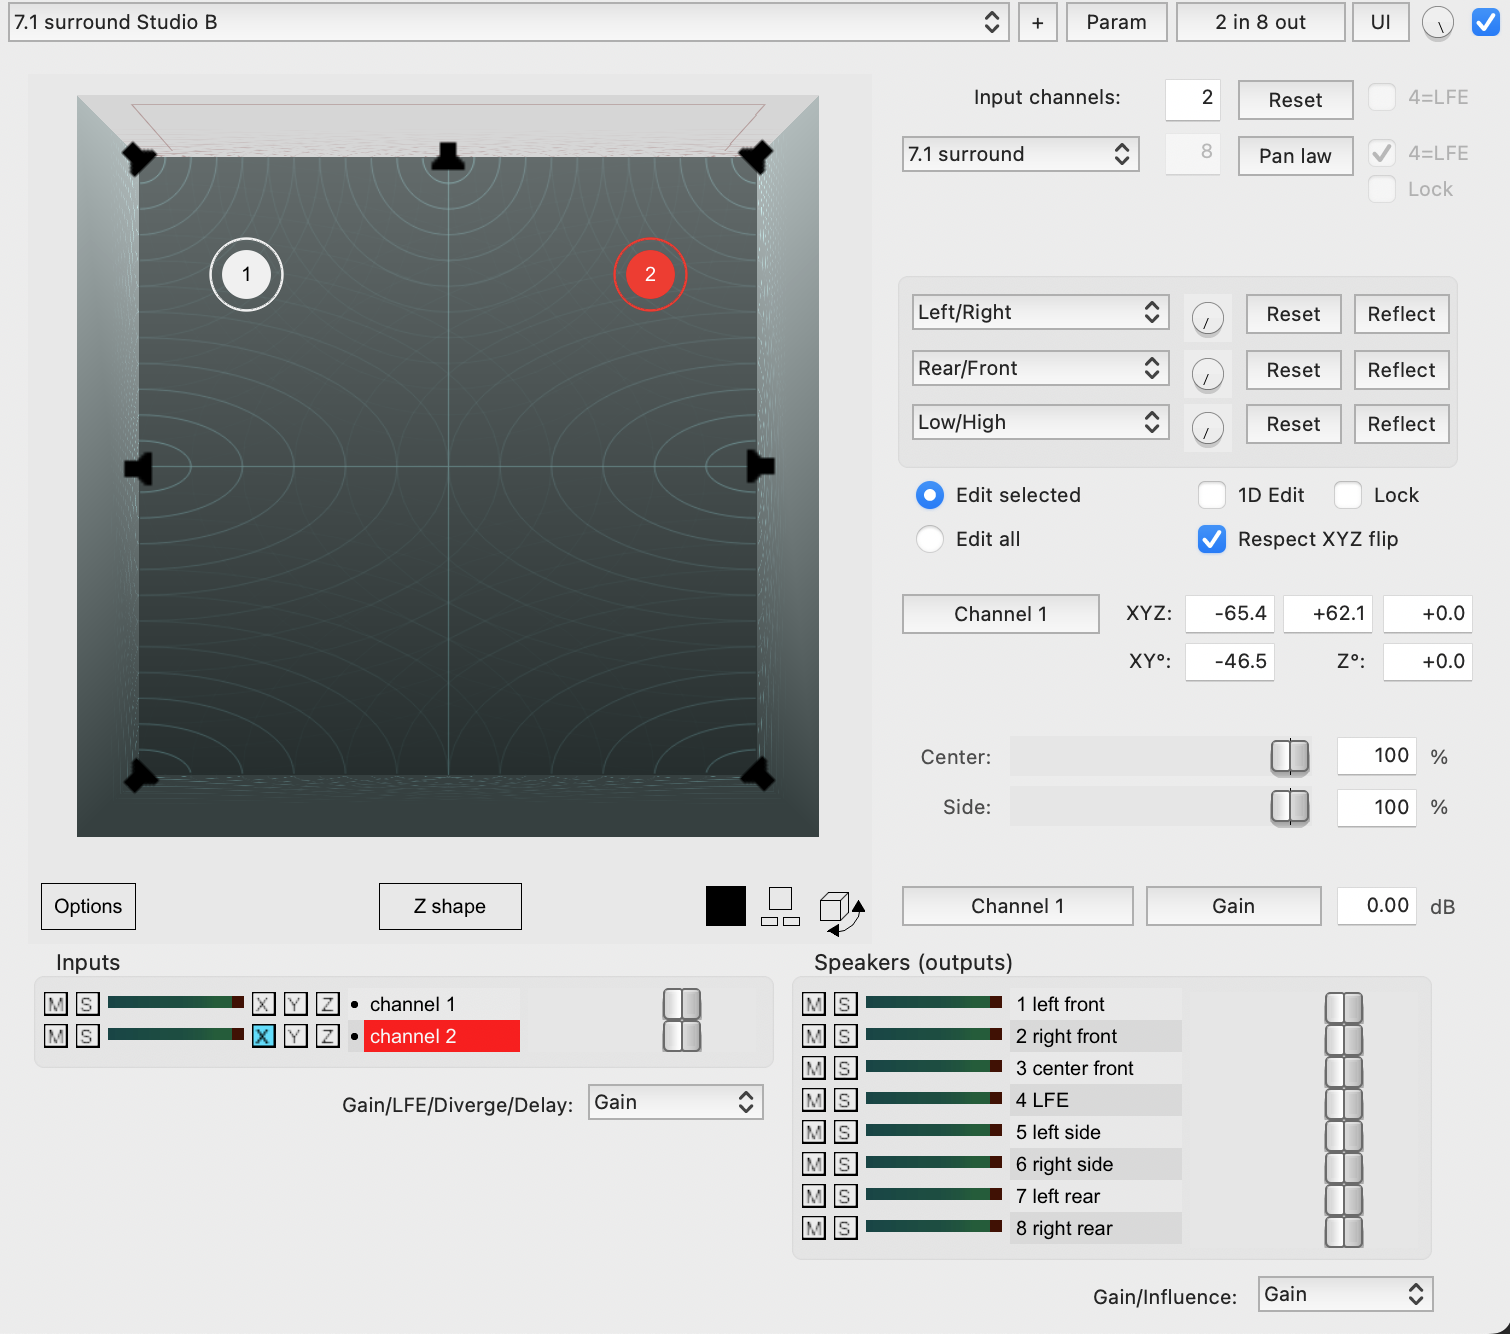
The screenshot shows two inputs for stereo material. Our first test uses one input. For a stereo source, use two inputs and decide how its left and right channels should occupy the room.
A source between speakers is usually shared between them. The puck position is a panning control, not a guarantee of a physically precise sound location for every listener.
Direct routing or panning?
Direct routing assigns a source to fixed output channels. To send a stereo track only to the 7.1 rear surrounds, create an eight-channel routing bus with no panner. Disable the source track’s Master/parent send and send its 1/2 to bus channels 7/8. Pass the bus’s full eight channels to the Master. Check the result with the speaker test. In the 5.1 layout above, surrounds are 5/6; there is no separate rear pair.
Use direct routing for a fixed assignment and ReaSurroundPan when you want to position a source between speakers or move it. Avoid an extra dry route that plays the same source at the front while you pan it elsewhere.
4. Automate one deliberate move
First decide why the sound should move. Try a short front-to-rear pass, then compare it with a stationary version at a similar listening level.
- In ReaSurroundPan, touch the source’s X or Y position control. Use Param > Show track envelope to expose the corresponding parameter; repeat for the other axis if needed.
- Draw a few envelope points to define the start, duration, and destination. X controls left/right; Y controls rear/front. Confirm the direction by listening.
- Play in Read mode and check the move from beginning to end. Adjust it if it distracts from the musical phrase or scene.
To perform a move live, enable and arm the relevant parameter envelopes and choose Touch automation mode. Start playback and move the puck, then return to Read and inspect the recorded envelopes. Audio record-arm is not required to write automation. Avoid Write mode for this first pass because it can overwrite existing automation throughout playback.
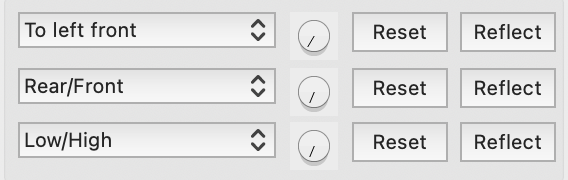
Use these controls to choose panning gestures, then record or draw their parameter changes in envelopes to play the movement back. For today’s horizontal 7.1 layout, keep Z at the listener’s plane. Changing Z does not create height speakers in a room that has none.
5. Build and compare a short group mix
Use a short section of the multitrack song chosen in class.
- Keep a clear front anchor, such as the lead vocal, and choose one supporting element to place at the sides or rear.
- Add one purposeful automated move. Compare it with the static placement; keep it only if it helps the phrase.
- Listen from another seat. Does the balance still work, and can you identify the important material?
Before exporting, have someone else trace one source through the panner, track, Master, and hardware outputs. If it appears on the wrong speaker, find the routing mismatch before changing the creative placement.
6. Render and check the result
Hardware routing determines monitoring. It does not automatically set the channel order or channel count of the rendered file.
- In File > Render, choose Master mix, the intended time range, 8 channels, and WAV, 24-bit. Use the project’s sample rate unless the delivery brief specifies another rate. For 5.1, render 6 channels.
- Render a short channel-identification test first. Reimport it onto an eight-channel playback track with no panner and no other copy of the test playing. Route it directly through the verified Master path.
- Check each channel’s label and physical speaker, then render and audition the actual mix. Listen for missing sources, clipping, and automation changes.
A multichannel WAV is the reference mix for this exercise. Stereo playback software may downmix it or play only some channels, so that alone is not a surround quality check.
If video is required later: confirm the required container, audio codec, and channel layout first. Available FFmpeg encoders and player support vary. Test a short export in the intended player rather than assuming that any MOV, MKV, or MP4 setting preserves the mix correctly.
If separate speaker files are required: split the verified multichannel render into mono channels and label them by speaker. Rendering selected source tracks as stems gives you those tracks’ mixes; it does not automatically make one file per speaker.
Optional extensions
Complete the speaker check, one-source pan, and test render before trying these.
Sound Particles: an extra sound-design experiment
Sound Particles can generate moving groups of sound sources in a virtual space. It is optional for this lesson, with no installation or separate submission required. See the optional Sound Particles walkthrough if you want to explore it after the group mix.
Export a channel-based 7.1 file for this room, confirm its channel order, and import it onto an eight-channel track. Play the finished spatial render directly; it does not need to be panned again as though it were a mono source.
An AmbiX export is different: it contains Ambisonic components, not speaker feeds. It needs a decoder matched to the format and playback system. IEM’s BinauralDecoder is for headphones; AllRADecoder can decode to a configured speaker layout. RoomEncoder creates Ambisonic audio and is not the playback decoder for an existing AmbiX file.
Repeating motion with automation items
Once an envelope move works, select a time range on its lane and insert an automation item. Repeat or loop it to reuse the gesture. An automation item’s LFO can generate periodic movement. A circular path needs coordinated sine-shaped X and Y curves with appropriate ranges, the same period, and a quarter-cycle phase offset; two arbitrary LFOs will not necessarily make a circle.
Several sources in one panner
Start with separate panners on source tracks for clarity. A shared panner is useful when you deliberately want to move several inputs together.
For three mono sources, create an eight-channel Panner bus. Disable the source tracks’ Master/parent sends, and send each source as mono to a different bus channel: source A to 1, B to 2, C to 3. Set ReaSurroundPan to 3 input channels, map those inputs to the bus channels, and route its eight outputs to the Master. Check each source alone before combining them.
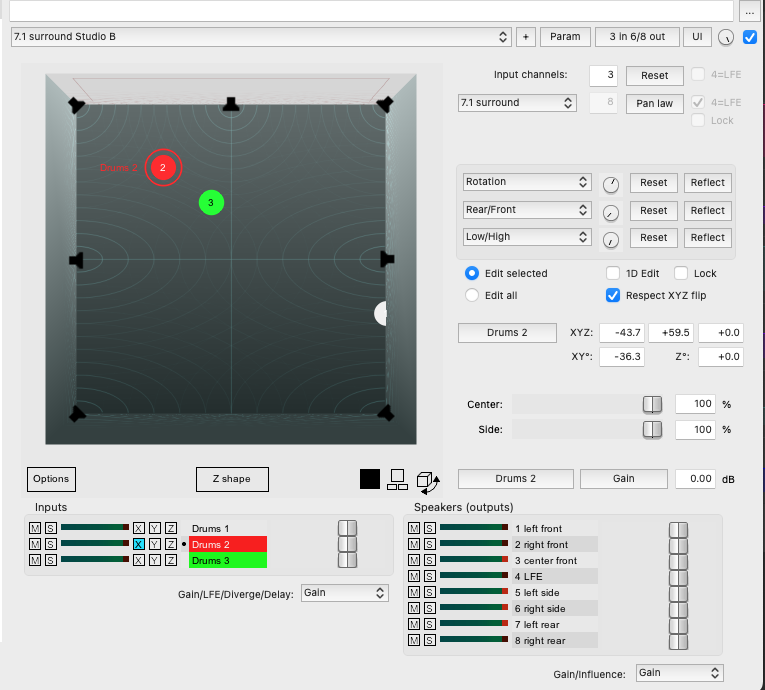
Stereo sources need two input channels each. Sending three stereo pairs while telling the panner it has only three inputs will not preserve all six channels. Use Edit selected or Edit all deliberately, and label inputs so you can identify which source each puck controls.
References
- REAPER user guide : surround panning, routing, automation, and rendering. Search for “Surround Panning with ReaSurround and ReaSurroundPan.”
- IEM plug-in descriptions : encoder and decoder roles.
- Sound Particles education information : current access and license terms.